Ever thought about growing your own radishes but felt a little lost? Or maybe you just want that perfect peppery crunch in your salads without buying them at the store? Well, buddy, you’re in the right spot. Growing radishes is one of the easiest, fastest ways to get your garden popping with colorful, tasty roots. Plus, they’re super forgiving if you’re just starting out—think of them as the gateway vegetable to your green thumb. So, grab your gardening gloves, and let’s dive into how to grow radishes like a pro—no green thumb required!
Why Grow Radishes? Let’s Talk Benefits
Before we get into the nitty-gritty, here’s a quick FYI on why radishes are a total win in your garden.
- Fast growers: Radishes are the sprinters of the vegetable world. You can harvest in as little as 25 days! That’s basically the shortest wait ever.
- Low maintenance: They don’t ask for much. Just some sunlight, water, and a little love.
- Nutritional punch: Radishes pack a punch with vitamin C, fiber, and antioxidants. Plus, their spicy flavor adds a fun kick to any dish.
- Versatile: Eat them raw, roast them, pickle them… the options are endless.
- Great for small spaces: Living in a tiny apartment? No worries. Radishes do well in containers or small garden beds.
Picking the Perfect Radish Seeds
First things first—your radish journey starts with choosing the right seeds. I’ve tried a bunch, and honestly, selecting high-quality seeds makes all the difference.
What to Look for in Radish Seeds
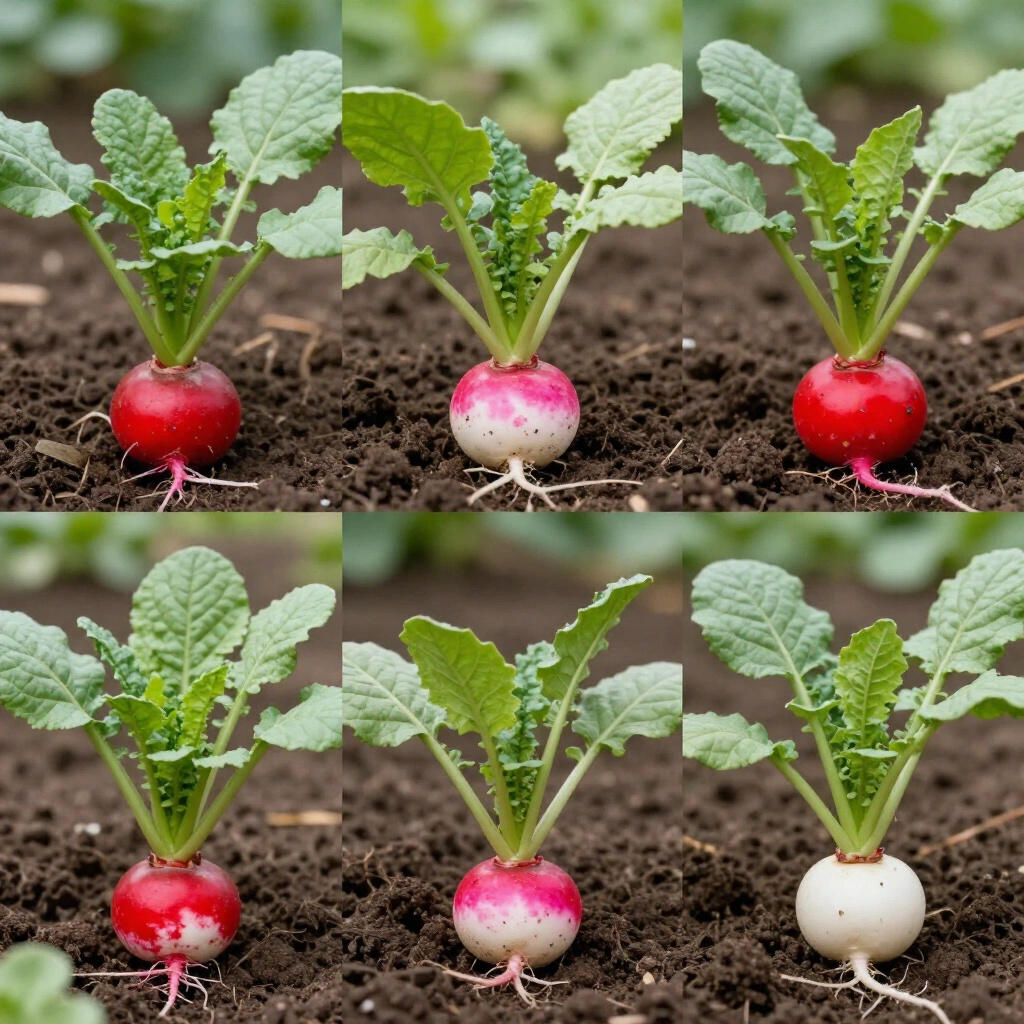
- Variety: There are tons of types—Cherry Belle, French Breakfast, Daikon, etc. Pick one based on your taste and the look you want.
- Freshness: Seeds lose their mojo over time. Always check the packaging date and go for fresh ones.
- Organic options: If you’re into chemical-free gardening, go organic. IMO, they tend to sprout better and taste fresher.
My Personal Pick
I swear by Cherry Belle for a quick, reliable harvest and their adorable, round shape. But for a more unique look, I love trying the elongated Daikons—they’re perfect for slicing and stir-fries.
When to Plant Radishes: Timing Is Everything
Timing can make or break your radish game. Here’s the scoop:

- Cool weather champions: Radishes love cool temperatures—around 50-70°F. Think early spring or fall.
- Avoid the heat: Hot weather makes radishes bolt (that’s plant-speak for going to seed) and get bitter. If you’re in a warmer climate, plant in the early morning or late afternoon.
Planting Schedule Tips
- In most temperate zones, sow seeds 2-4 weeks before your last frost date in spring.
- For fall crops, plant about 4-6 weeks before your first frost.
How to Prepare Your Garden Bed
Now that you know when, let’s talk about setting up your garden bed or container.

Soil Prep
Radishes thrive in loose, well-draining soil. Here’s what I do:
- Mix in organic compost or aged manure—this keeps the soil rich and airy.
- Ensure good drainage: Radishes hate soggy feet. If your soil is clay-heavy, mix in some sand or peat moss.
- pH level: Aim for a soil pH of 6.0 to 7.0. You can get a cheap soil test kit from the store.
Container Gardening?
Absolutely! Just pick a container that’s at least 6 inches deep with drainage holes. I love using recycled buckets or large pots—cost-effective and eco-friendly.
Planting Radish Seeds: Step-by-Step
Here’s where the magic happens. Follow these simple steps, and you’ll be radish-growing like a boss.
Step 1: Sow the Seeds
- Spacing: Plant seeds about ½ inch deep and 1 inch apart.
- Rows: Space rows 12 inches apart to give your radishes room to grow.
- Cover: Gently cover seeds with soil and pat lightly.
Step 2: Water Gently
Keep the soil moist but not soaked. I recommend watering lightly every day or every other day until you see sprouts. Consistent moisture prevents the roots from becoming woody or splitting.
Step 3: Thin the Seedlings
Once seedlings are about 2 inches tall, thin them out to 2 inches apart. This gives each radish enough room to develop fully.
Growing Tips for Healthy Radishes
- Mulch: Apply a thin layer of straw or shredded leaves to retain moisture and keep weeds down.
- Water regularly: Keep the soil evenly moist. Radishes are picky about drying out, especially during bulb formation.
- Fertilize sparingly: Too much nitrogen can lead to lush leaves but puny roots. Use a balanced, low-nitrogen fertilizer if needed.
Common Problems and How to Fix Them
Even if you’re doing everything right, a few hiccups can happen. Here’s what to watch for:
- Radishes bolting: Hot weather or too much fertilizer can cause this. Plant in cooler months and avoid overfeeding.
- Split roots: Inconsistent watering causes this. Maintain steady moisture.
- Pests: Look out for flea beetles and root maggots. Use row covers or organic insecticidal soap if needed.
- Weak or misshapen radishes: Thin seedlings or poor soil structure might be the cause. Keep soil loose and thinning on point.
Harvesting Your Radishes
When do you know they’re ready? Easy!
- Size: Most radishes are ready when they reach about 1 inch in diameter. Larger radishes tend to be woody.
- Timing: Check after 25-30 days for most varieties.
- How to harvest: Gently pull the radish from the soil, or use a garden fork to loosen the soil around them.
Bonus Tip
Don’t leave radishes in the ground too long. Overripe radishes become tough and bitter. Better to harvest early than regret waiting!
Storing Your Radishes
Fresh radishes are best enjoyed quickly, but here’s how to store them so they stay crispy:
- Remove the greens (if attached) as they draw moisture away from the roots.
- Rinse gently and dry thoroughly.
- Store in an airtight container or zip-top bag in the refrigerator crisper drawer.
- They’ll stay fresh for up to a week, but I’d recommend eating them sooner for maximum crunch.
Longer Storage
- Pickling: Make radish pickles for a tangy snack.
- Refrigerate in a damp cloth: Wrap radishes in a moist paper towel and store in a plastic bag to keep them crisp longer.
Final Thoughts: Your Radish Adventure Awaits!
Growing radishes is honestly one of the easiest and most rewarding gardening projects you can tackle. They’re quick, forgiving, and look adorable in any garden or container. Plus, nothing beats the satisfaction of pulling up a fresh radish that you grew yourself—your salads and snacks will thank you.
Remember: choose good seeds, plant at the right time, keep the soil moist, and stay patient. Before you know it, you’ll be crunching on homegrown radishes and feeling like a gardening rockstar. So go on, get those seeds in the ground, and enjoy the journey!
Ready to start? Grab your favorite radish seeds, prep your soil, and watch your garden burst with color and flavor. Happy gardening! 😊