

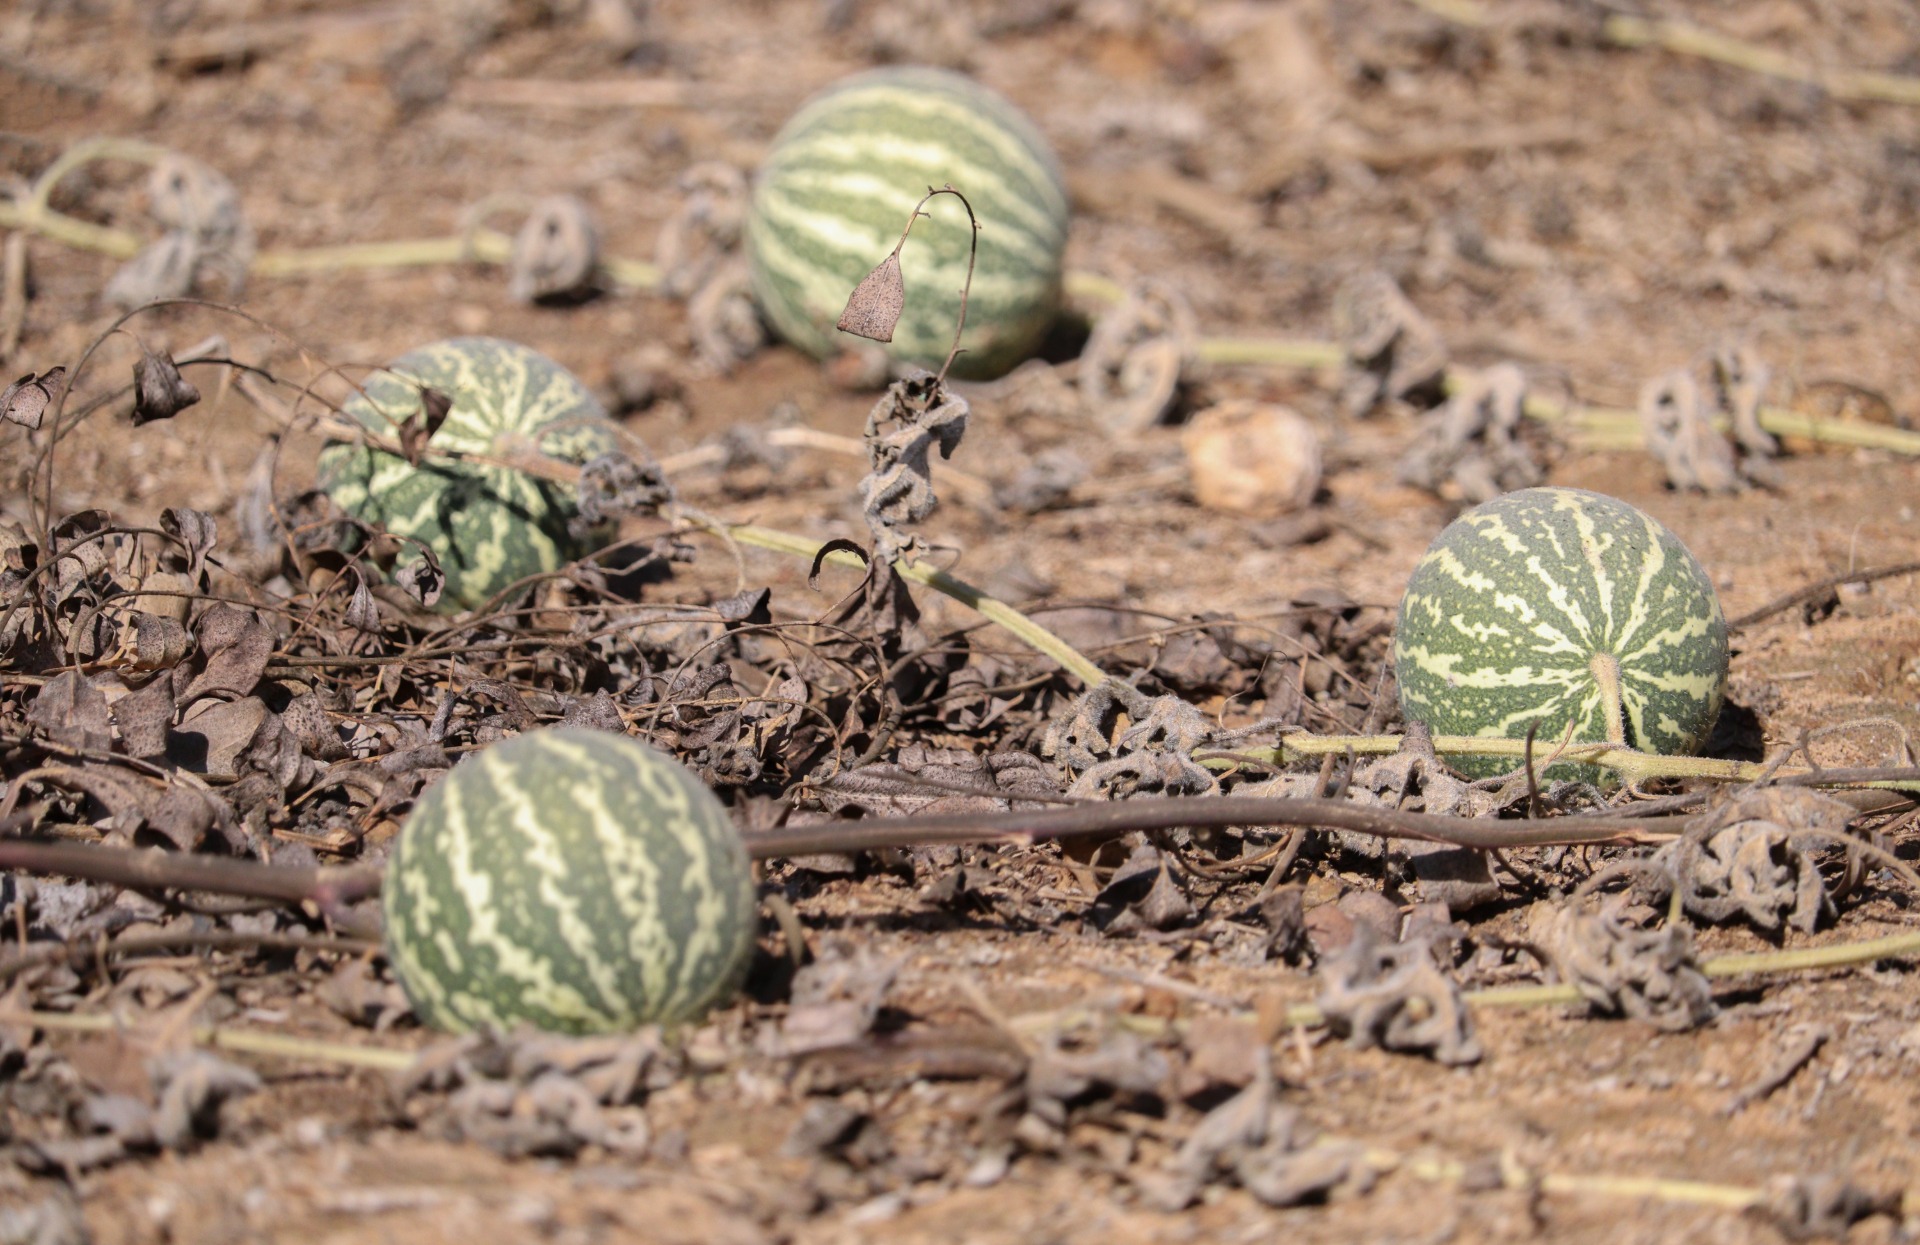
I spent three seasons growing bland, watery melons before I got this right. Those early failures taught me more than any book ever did about how to grow melons that actually deliver the sweet, juicy payoff you want. I still remember the disappointment of cutting into a pale, flavorless cantaloupe after months of work. That changed once I stopped guessing and started treating these plants like the heat-loving, hungry vines they are. If you want melons that smell amazing and taste even better, stick with me. I’ll walk you through every step I now use, from picking the right variety to the exact moment I harvest.
Choosing the Right Melon Varieties for Your Climate
I used to grab whatever seed packet looked pretty. Big mistake. Variety selection makes or breaks the whole season.
See, melons demand heat and a decent stretch of warm days. In cooler zones I now reach for short-season types that finish in 65 to 80 days. Minnesota Midget has become my go-to cantaloupe for shorter summers. The fruits stay small (about the size of a softball) but pack serious sweetness, and the vines stay manageable. For watermelons I lean on Sugar Baby or Blacktail Mountain. Both finish early enough that frost rarely ruins the harvest.
In warmer spots the options open up. Ambrosia and Hale’s Best Jumbo thrive when nights stay mild and days stay hot. Honeydews need even more consistent warmth, so I only grow those when my season feels long enough. I always check the days-to-maturity number on the packet and match it against my average frost dates. One year I ignored that and lost half the crop to an early cold snap. Never again.
IMO the best move is to plant two or three different types. That way if one underperforms you still get something good. Compact or bush varieties also help if space is tight. I grow those in large containers on the patio and they still produce solid fruit.
Preparing Soil and Site the Way Melons Demand
Melons hate cold, wet feet. I learned that the hard way when my first plants yellowed and stalled.
I pick the sunniest spot I have. Full sun means at least six to eight hours of direct light every day. Anything less and the fruit stays small and the sugars never develop. Soil needs to drain well. Sandy loam is ideal, but I work with what I have. I dig in plenty of well-rotted compost or aged manure a couple of weeks before planting. That builds fertility and improves structure. Target pH sits between 6.0 and 6.5. If my soil test comes back lower I add lime ahead of time.
Raised beds or mounds help a lot. I form hills about six to eight inches high and two to three feet across. The soil warms faster and water drains away from the roots. Black plastic mulch is my secret weapon for cooler springs. I lay it down early so the ground hits at least 70°F before seeds or transplants go in. That extra warmth can shave ten days off the wait for the first ripe fruit.
Space matters. Trailing vines need room. I plant hills three to five feet apart in rows five to six feet apart. Closer spacing works if I train the vines up a trellis, which I do more often now to save ground space.
Starting Seeds and Getting Plants in the Ground
Direct sowing works in warm climates once soil temps stay above 70°F. I plant three or four seeds half an inch to one inch deep in each hill, then thin to the strongest one or two once they have a few true leaves.
In cooler areas I start seeds indoors three to four weeks before the last frost date. I use small pots or biodegradable containers so I can plant the whole thing without disturbing roots. Melons hate root shock. Bottom heat helps germination. I keep the soil around 80°F until seedlings pop up, then move them to a bright window or grow lights. Harden them off carefully over a week before transplanting.
I wait until nighttime temps stay above about 55°F and the soil feels warm to the touch. Transplanting too early just sets plants back. Once in the ground I water them in well and protect young plants with row covers if a cold snap threatens. Those covers also keep early cucumber beetles off the tender leaves.
Watering and Feeding for Sweet, Healthy Fruit
Consistent moisture is non-negotiable while plants grow and set fruit. I aim for one to two inches of water per week. Deep, infrequent watering beats daily sprinkles. I use drip lines or soaker hoses so the leaves stay dry. Wet foliage invites powdery mildew and other fungal problems.
Once the fruits start sizing up I cut back on water. That concentrates the sugars. Too much water near the end leads to bland or split melons. I learned that after one season of soft, watery cantaloupes that tasted like nothing.
Feeding follows a simple pattern. I mix compost into the soil at planting and side-dress with a balanced fertilizer or more compost once vines start running. When fruits reach about the size of a walnut I switch to something higher in potassium. That supports fruit development without pushing too much leafy growth. Containers need more frequent feeding because nutrients wash out faster.
Mulch helps everything. A two- to three-inch layer of organic mulch or the black plastic I already mentioned keeps moisture steady, suppresses weeds, and prevents fruit from sitting on bare soil where it can rot.
Training Vines, Pollination, and Keeping Pests Away
I train most of my melons up sturdy trellises or cattle panels now. Vertical growing saves space and improves air flow. Soft ties or netting support the developing fruit so the vines do not snap under the weight. For larger watermelons I make simple fabric slings that cradle each fruit.
Pollination can be a weak point. Bees usually handle it, but under covers or during cool, rainy stretches they stay away. I hand-pollinate when needed. Male flowers lack the tiny fruit at the base. Female flowers have that little swelling. I transfer pollen with a soft brush or by touching the male anther directly to the female stigma early in the morning. One good pollination can set several fruits.
Pests show up. Striped cucumber beetles are the worst early on. They chew leaves and spread bacterial wilt. Row covers help until flowering starts. After that I watch closely and hand-pick or use kaolin clay sprays if pressure builds. Squash bugs and vine borers can appear later. I check stems for entry holes and remove any affected plants quickly. Good air circulation and dry leaves reduce disease pressure more than any spray ever did.
I also thin the fruit. Once young melons reach about an inch across I keep the best one or two per side shoot and remove the extras. Fewer fruits means bigger, sweeter ones. Greedy vines that try to ripen everything produce a lot of mediocre melons. I want quality over quantity.
Harvesting at the Perfect Moment
Timing the harvest is half the battle. Pick too early and the flavor never develops. Wait too long and the fruit turns mushy.
For cantaloupes and muskmelons I watch the stem. When the melon slips easily from the vine with a gentle tug it is ready. The netting turns coarse, the background color shifts from green toward tan or yellow, and the blossom end gives slightly under pressure. The scent should be strong and sweet. Those cues never lie.
Watermelons are trickier. I look for a dull skin (shiny means underripe), a yellow ground spot where the fruit rested on the soil, and a dried tendril nearest the stem. A deep, hollow thump also helps. Honeydews soften at the blossom end and change color slightly.
I harvest in the morning when fruits are cool. They keep best that way. Most melons taste best within a day or two of picking, though some hold longer in the fridge.
Frequently Asked Questions
How long does it take to grow melons from seed to harvest?
Most varieties need 70 to 100 days, depending on the type and your weather. Short-season cantaloupes finish closer to 65-80 days while larger watermelons often take longer.
Can I grow melons in containers?
Yes, if you choose compact varieties and use a pot at least 18 inches wide and deep. Keep them well watered and fed because containers dry out fast.
Why do my melons taste bland even when they look ripe?
Too much water near the end or insufficient heat and sun are the usual culprits. Cutting back on irrigation once fruits size up and growing in full sun fixes this for me every time.
Do I need to hand-pollinate every flower?
Not if bees are active. I only step in during cool or rainy weather or when plants are under row covers. One thorough session can set several fruits.
What is the biggest mistake beginners make when learning how to grow melons?
Planting too early in cold soil. Melons stall or rot if the ground stays below 65-70°F. Wait for real warmth and you skip a lot of frustration.
I still get excited every time I cut into the first ripe melon of the season. The smell hits first, then the juice runs, and all those careful steps feel worth it. Start with good soil, the right variety, steady warmth, and patient watering. Skip the rush to plant early and the urge to overwater at the end. Those two habits alone turned my harvests around. Now go get some seeds and give it a try. Your future self with a plate of sweet melon will thank you.